How to Create Your Own Tanuki: A Step-by-Step Guide
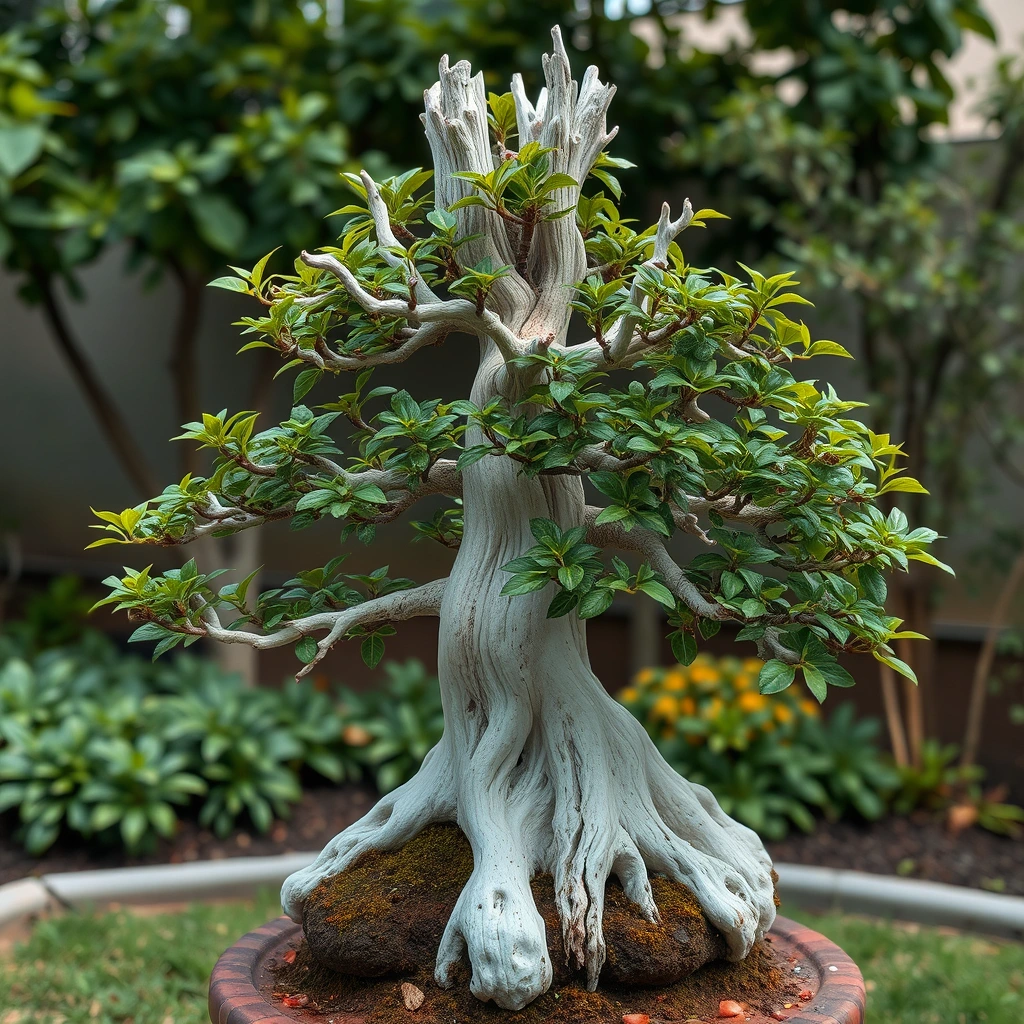
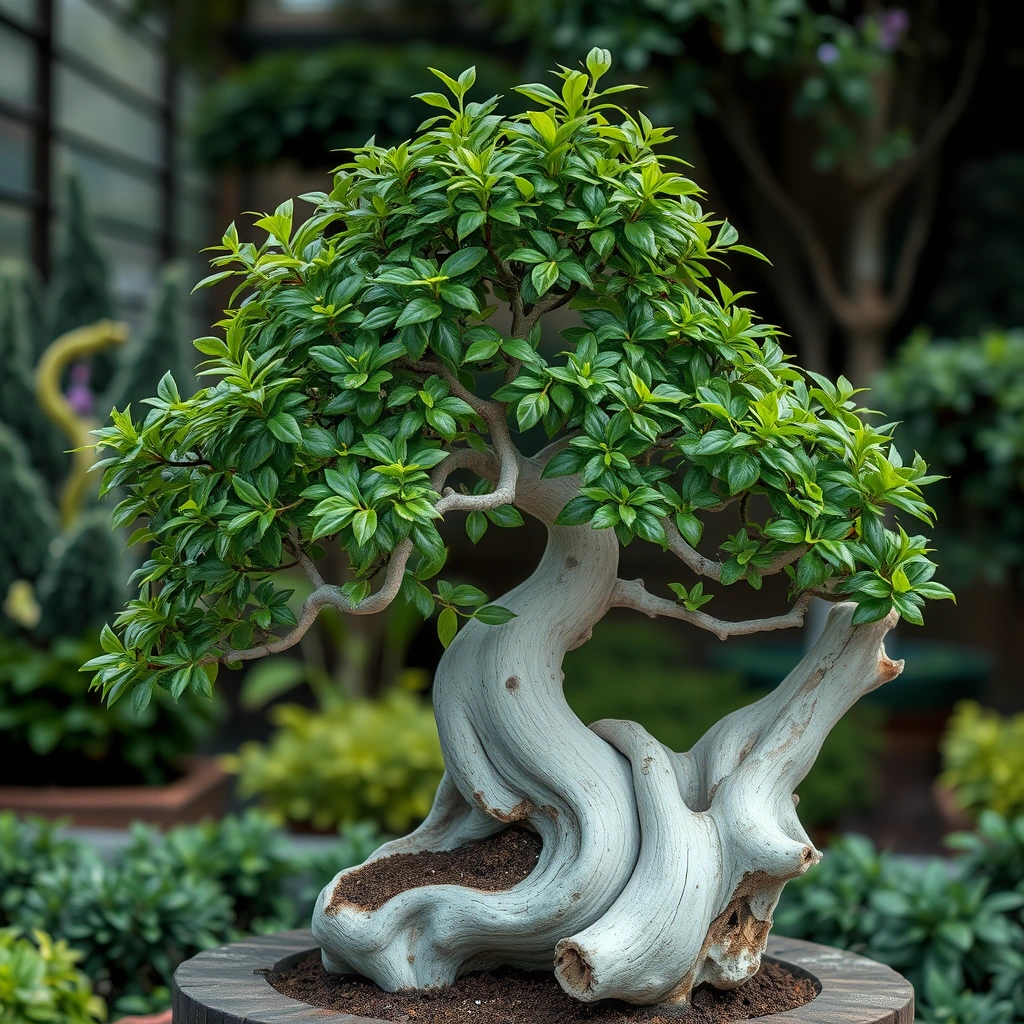
Tanuki Bonsai, also known as Phoenix Graft or Wrap-Around technique, is a fascinating and sometimes controversial practice in the world of bonsai. This technique involves combining a living tree with a piece of deadwood to create the illusion of an ancient, weathered tree. In this article, we'll explore the concept of Tanuki Bonsai, its origins, and provide a step-by-step guide on how to create your own.
The term "Tanuki" comes from Japanese folklore, referring to a mischievous shapeshifting creature known for its tricks and illusions. This name perfectly captures the essence of Tanuki Bonsai, as it involves creating an illusion of age and character that may not be entirely natural. While some purists argue against this technique, it remains a popular and creative way to produce stunning bonsai specimens quickly.
TOC
- Understanding Tanuki Bonsai
- Selecting Materials for Tanuki Bonsai
- Step-by-Step Guide to Creating a Tanuki Bonsai
- Common Challenges and Tips
- FAQ
- Conclusion
Understanding Tanuki Bonsai
Tanuki Bonsai is a technique that combines a living tree, usually a young and flexible specimen, with a piece of deadwood or driftwood. The living tree is carefully wrapped around or attached to the deadwood, creating the appearance of a much older tree with significant deadwood features.
This technique is particularly popular with evergreen species, especially junipers, as they naturally develop deadwood in their mature forms. The goal is to create a believable illusion of an ancient tree that has weathered many seasons and developed character over time.
Some key characteristics of Tanuki Bonsai include:
- A combination of living tree and deadwood
- The appearance of age and weathering
- Dramatic driftwood features
- A living vein that appears to grow around or through the deadwood
Selecting Materials for Tanuki Bonsai
Choosing the right materials is crucial for creating a successful Tanuki Bonsai. Here are the key components you'll need:
-
Deadwood or Driftwood:
- Look for hardwood that is durable and long-lasting
- Choose pieces with interesting shapes, twists, or hollows
- Avoid soft woods like willow, which decay quickly
-
Living Tree:
- Select young, flexible trees that can be easily shaped
- Popular choices include:
- Chinese Juniper (Juniperus chinensis)
- Shimpaku Juniper (Juniperus sargentii)
- Japanese Yew (Taxus cuspidata)
- Japanese Black Pine (Pinus thunbergii)
-
Tools and Supplies:
- Bonsai wire
- Cable ties
- Brass nails (optional)
- Hammer
- Pliers
- Bonsai soil mix
- Appropriate pot or training container
Step-by-Step Guide to Creating a Tanuki Bonsai
-
Prepare the Deadwood:
- Clean the deadwood thoroughly
- Remove any loose bark or debris
- Consider using wood hardener to preserve the deadwood if necessary
-
Prepare the Living Tree:
- Remove the tree from its current container
- Gently remove excess soil from the roots
- Prune the roots if necessary, but be careful not to remove too much
-
Plan the Design:
- Decide how you want to position the living tree on the deadwood
- Consider the future growth and development of the tree
-
Attach the Living Tree to the Deadwood:
- Use cable ties or bonsai wire to secure the living tree to the deadwood
- For a more permanent solution, you can use brass nails (be careful not to damage the living tree)
- Wrap the trunk and main branches around the deadwood, creating a natural-looking spiral or curve
-
Position in a Container:
- Choose an appropriate bonsai pot or training container
- Use bonsai soil mix to fill the container
- Secure the Tanuki creation in the pot using wire if necessary
-
Initial Styling:
- Wire the branches of the living tree to create the desired shape
- Be careful not to wire too tightly, as this can damage the tree
-
Aftercare:
- Water and fertilize the tree regularly
- Monitor the attachment points to ensure they're not girdling the living tree
- Allow the tree to grow and develop, adjusting the design as needed over time
Common Challenges and Tips
Creating a convincing Tanuki Bonsai can be challenging. Here are some tips to help you succeed:
- Patience is key: Allow time for the living tree to fuse with the deadwood naturally
- Choose compatible materials: Ensure the living tree and deadwood complement each other in size and style
- Maintain the illusion: As the tree grows, continue to shape it to maintain the appearance of age and character
- Be prepared to adjust: You may need to reposition or rewire the tree as it grows
FAQ
-
Q: Is Tanuki Bonsai considered "cheating" in the bonsai world? A: While some purists consider it controversial, many bonsai enthusiasts appreciate Tanuki Bonsai as a creative art form.
-
Q: How long does it take for a Tanuki Bonsai to look established? A: It can take several years for the living tree to fuse with the deadwood and develop a natural appearance.
-
Q: Can I use any type of tree for Tanuki Bonsai? A: While evergreens like junipers are most common, you can experiment with other species that have flexible growth habits.
-
Q: How do I maintain the deadwood portion of my Tanuki Bonsai? A: Regularly clean the deadwood and consider applying wood hardener or preservatives to prevent decay.
-
Q: Is it possible to create a Tanuki Bonsai with deciduous trees? A: While less common, it is possible. However, the illusion may be less convincing when the tree loses its leaves.
Conclusion
Tanuki Bonsai is a fascinating technique that allows bonsai enthusiasts to create stunning, ancient-looking trees in a relatively short time. While it may be controversial to some, it offers a unique opportunity to explore creativity and illusion in the art of bonsai. By carefully selecting materials, planning your design, and patiently nurturing your creation, you can produce a Tanuki Bonsai that captures the essence of a tree that has weathered centuries. Whether you're a beginner or an experienced bonsai artist, trying your hand at Tanuki Bonsai can be a rewarding and enlightening experience.


